Mantua, New Jersey
Original Site:
September 2004
E-mail: usav8or@yahoo.com
The Radical Radial Fuselage.
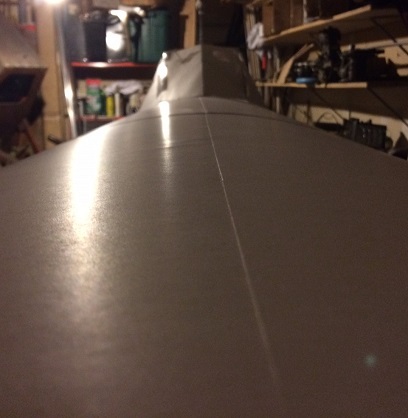
January 3, 2016 Starting the sheet metal... WOW !!!
Kinda weird doing all this "finish" work; seat backs, seat pans, mounting throttles, heel trays, front flooring... And now... I've started work on the sheet metal that will be on the top side from the firewall back to the turtle deck, and on the sides from the firewall to the front of the first pit (basically one bay).
WOW !!! Almost surreal.
I first thought of just enough sheet metal on the back pit to just cover over the 6-7" instrument panel. Took a look at that "Thunderskybolt" image on the first page and DAMN ! that looks sharp. That image works out to be about 18". WAY too far back to fit into the pit even with a side door. After a lot of looking at the actual fuselage and looking at the Thunderskybolt CAD drawing I came up with the following: an 11inch overhang. This will give me 22inches from the edge of the overhang to Station 85.o.
The sides of the back pit are 4inches above the top longeron. Here... I know I'll need to have a hinged door to get into and out of the cockpit (I'll be doing the same for the front pit). Nothing like making it a little harder to make...
All of this figuring out is the first iteration of the sheet metal covering. My 2D CAD program while a great little tool... really can't show you what shapes look like in 3D. The opening for the back pit looked good on paper but when I actually sketched it out on paper and held it against the frame was WACKED ! A few tweaks to the flow of the line and I got what I wanted.
Once the final design has been worked out I've read and heard that they'll be several iterations of the actual "finish" pieces to make a nice tight, good-looking, sheet metal skin. I'm enjoying this stuff !
January 4-7, 2016 Before starting the sheet metal...
I need to get this firewall attaching figured out.
Several days thinking and not doing... Know that I need to really lock the firewall in place before moving forward on the rest of the sheet metal work.
I have those contacts for the fuselage fitting for the engine mount connections. Just need to email/call and ask. Until then I can just waste my time "playing" with fitting up of the mock-up display board pieces. Ya know... it makes it look like I'm doing something.
January 8, 2016 Before starting the sheet metal...
I need to get this firewall attaching figured out.
But I can get started on the rear pit's.
Emailed one of the guys that Terry Sullivan passed along to me about the fitting for the Jake on a UC-78. Heard back from him tonight: he has quite a few engine mounts but non of those fittings. He does have the engineeering drawings and will look for that part and get met the information (maybe send me a copy of it) so that I can make them myself. I can do that !!!
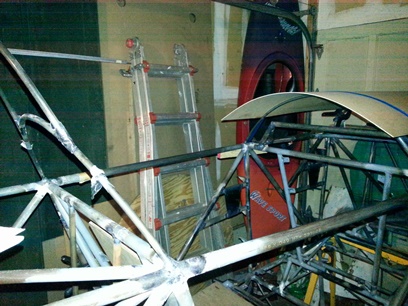
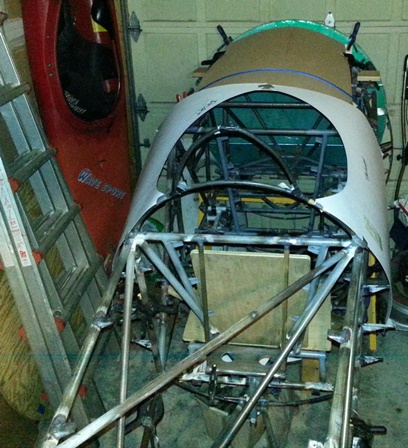
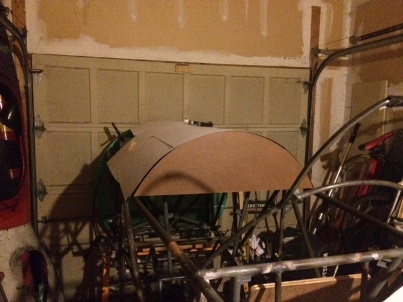
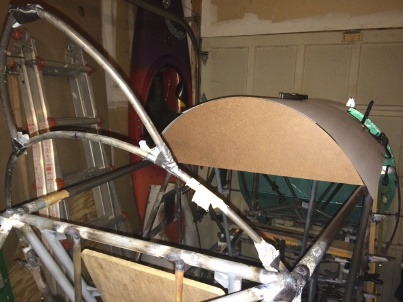
Back out to the fuselage. Thought I could figure out and make the former for the "overhang" in the rear cock-pit area. The shape of this stems off of the former just in front of the passenger's cockpit (which may indeed change, but I'm thinking not...). It's going to go past the other former by around 11inches and needs support. It's also the area where I'll be putting a door on the port side for "easy" access. I'll put a former at the 10inch mark.
Drew it up on my DetaCAD program and then made a few patterns... started off with a flimsy piece of display board and it looked like it would work. Transferred that onto a thicker piece of display and it looked better than before. Transferred this onto a piece of masonite and it looks like it's the ticket. Time to start bending some tubing now...
January 9, 2016 Laying some additional foundation...
to support the overhang in the rear pit.
Back... to making formers. One last one ??? The one to support the overhang in the rear pit.
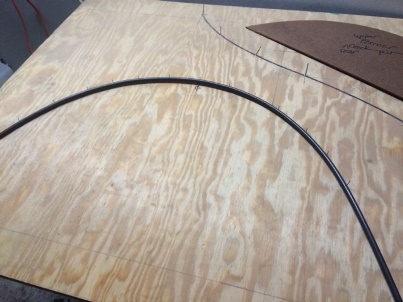
It went along smoothly EXCEPT this one small little area that ran this out to almost two hours of work. I don't remember it taking this long. But then... it's been a while since I last bent any tubing.
A lot of bending and unbending... bending and unbending. Finally bent the right areas at the right time.
Still needs to be cut to size.
A lot of extra tubing the one end.
January 10, 2016 Former formed and tacked...
to support the overhang in the rear pit.
Busy with a few other things today and didn't get started on the project until late. Wanted to get that former on the fuselage...
Checked the masonite pattern on the fuselage again to make sure it was the correct shape and size; it was. Back down to the basement workshop to trim the extra length of tubing off of the former, grind the ends then file before trying it out on the fuselage.
Perfect ! fit. All I needed to do was make sure that the fuselage was level before squaring up the former to the upper longeron. Threw a tack weld on each end and checked again. Didn't move so threw two more tacks on each end. I'll leave it at that for now... I'll go back and finish weld in about a week or so... a cooling off period so to speak.
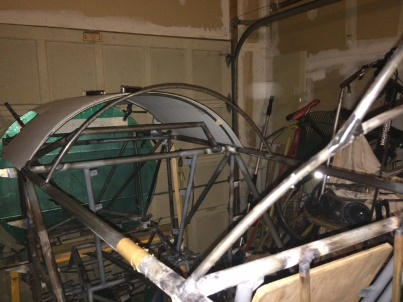
October 26, 27, 28, 2016 It's been a wild ride...
but I'm finally here.
WOW ! That's all I can say...
There are a lot of things to check off between bending and tacking on a few upper formers before you can begin to fit up the sheet metal to it !
Let's see... figuring out what type of system I was going to use to attach the sheet metal was job number one (decided on a few different methods), oh yeah... needed to attached that firewall but first needed to find the drawing for the motor mount fitting then figure out how to make it and then make four of them, tack them into place, then cut the holes in the fuselage (around the motor mount fittings and bolt holes to hold the firewall on, then need to figure out how to make the sheet metal side formers to hold the anchor nut plates to allow me attach the sheet metal along the upper formers... and more that I'm not remembering.
As an aside... I have been working on other projects while figuring this is all out; both instrument panels, the filler for the front of the turtledeck, etc etc etc
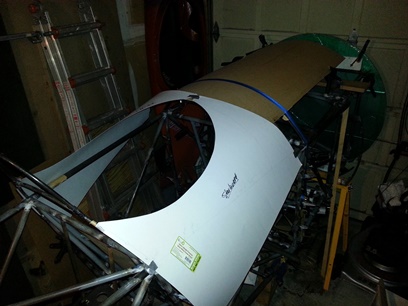
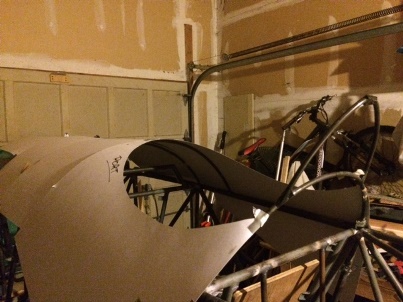
okay... back to the project at hand; the sheet metal. Now that I have the former tabs in place and the firewall in place (still need to bend the side formers though) I can begin experimenting with the patterns for the upper (the only place that I have sheet metal on the sides and bottom are on the first open bay).
I've been wanting to do this for so long that it seems almost like I'm "playing" and not working on the project. A lot of time is going into this fitting so far and not much to show for it. I'm sure that these hours of playing will pay off when it comes time to cut the actual metal.
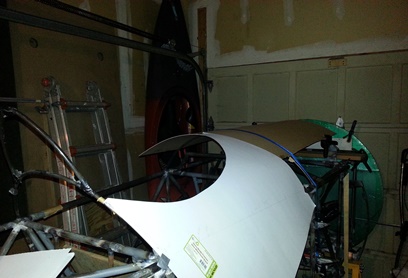
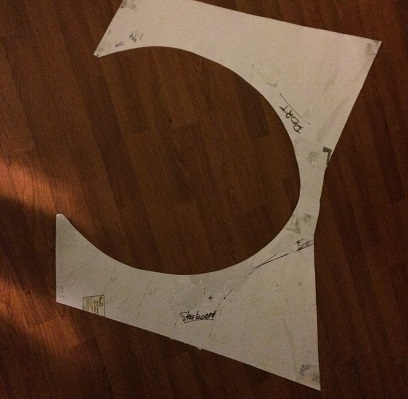
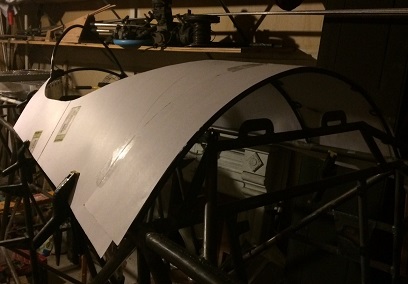
One thing to note, don't be messing around with a bad piece of paper when working your pattern... it just ADDS TIME to the process. Had the inital pattern (as seen below) and worked and worked with it and couldn't get it to lay flat when I attached a "filler" piece on the front end of it. Root Cause: piece of poop paper; it was wrinkley. Nothing I could have done with it would have made it any better. Stopped for the night and traced the existing on a new piece of paper and wa-la ! worked like a charm. Grant it, I still needed to work with the pattern to get it to fit close to what the final piece will be like, but at least I could work with it.
Exiting pattern; old and wrinkled.
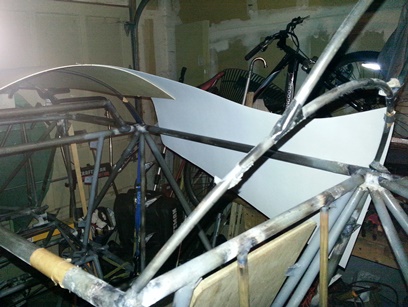
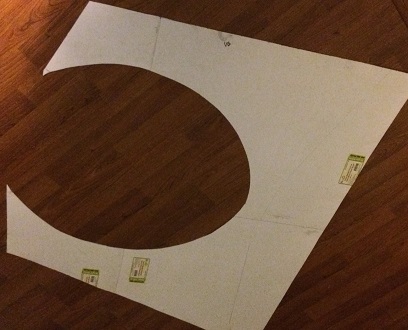
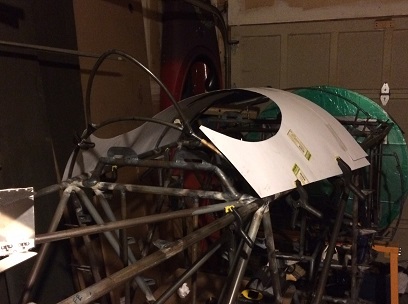
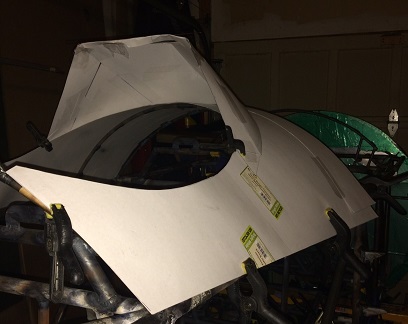
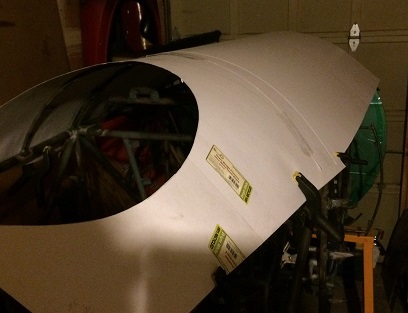
New pattern.
Next day I made the new pattern that you see above. Started playing with it on the fuselage again. Got it close to where it needs to be. Needed to buy more paper to make patterns for the forward part of the upper fuselage so I played with fitting up the windsheild I had designed... fitting it up again. I'm thinking... this will probably work for the back pit, but the front pit, not so sure. Need to figure out where the upper wing is before fitting up the front pit's windshield. I'm thinking a lot of the time the front pit will be covered.