Mantua, New Jersey
Original Site:
September 2004
E-mail: usav8or@yahoo.com
Buidling the ribs... finally.
Ok, so NOW we've got all the pieces cut for the ribs. Or, at least enough to get us started.
You can do two at a time. Take the Upper Wing rib jig and the Lower Wing rib jig and put them on a PERFECTLY level
work bench.
1. Take one of the jigs and place wax paper on the
surface of it.
2. Put one of the correct nose blocks into place. Mark the date on the nose block for future reference.
3. Fit the top and bottom captstrips into place as described earlier.
4. Take one of each capstrip and lay it into place in front of you on the jig. Sand and fit the vertical into place then
do the same with the diagonals.
5. Get your bags of gussets and lay one each of the gussets into place on the jig.
6. Sand the back of each of the gussets. I read somewhere that the glue joint is much stronger when you sand
the surfaces being glued.
7. If you're going to glue up a rib in another jig repeat the same steps above before mixing up your glue.
8. NOW you can mix up a batch of that T-88 glue (snap crakle pop !) I lay down 6, 6" lines of each part (Part A and Part B) on a piece of
plywood and then mix the two parts together. Note: the life of the mixed epoxy is approx 1/2 - 1 hr.
9. I glue all joints on my capstrips; nose blocks to capstrips, TE (trailing edge), all verticals and all diagonals. One of the guys on the
Biplane Forum doesn't glue the verticals and diagonals into place. He's on his forth plane so you may want to take his lead.
10. I lay the gussets on the nose blocks and mark the area that needs to be glued so that I place the right amount of glue without applying TOO
much on the area. The other areas can be marked also but it's pretty easy to see where the glue goes in these areas. Important: make sure that you have
enough glue in the joint to get squeeze out. A joint that doesn't have signs of squeeze out may be a glue starved joint. AKA... not a very strong joint.
Note: I've already built the ribs for the wings but have started building the ribs for the ailerons. I've found an easy way to build the ribs using brads. Click here
to read how. (a nice option that'll keep your project moving along)
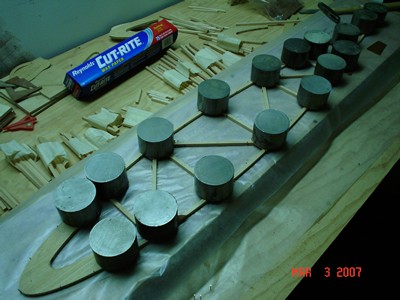
11. After glueing up capstrips and gussets place those weights that you bought awhile ago and place on the top of each joint.
12. Make up one or two sample glue joints with the scraps of wood you have around. Make sure that you date these. Save these for later sampling.
You may want to break up one of the test samples after it has dried to see what type of glueing you've done. Make sure to weight the test samples like you did
the actual ribs.
13. Total time for the above: Approx. 2 hours
14. Next day: Remove weights. Remove rib from jig, flip, sand second surface where gussets will be attached to remove any wax residue which may
be hanging onto the capstrip.
15. Repeat above steps for the second side.
Some builders use brads or staples to hold the gussets into place instead of using weights. I tried the brad thing and it took twice as long as it did when using the weights.
I didn't try using staples in fear that I may start splitting gussets. You make the decision here. For me... it took a little longer, since I couldn't take the rib out of the jig
before the glued had dried, but I like the end results. Actually... it took a lot less actual time to build using the weights. In the
extra time that I had "sitting idle" I would read, study the plans, practice welding, etc. No wasted time at all.
Note Again: Same as above. I've figured out how to use the brads to make the ribs without all the mess and extra time that I was experiencing. Click here if you
want to learn from my learning curve.
As is the case with everything you'll try to do with the
build... producing a fine piece in the least amount of
time.