Mantua, New Jersey
Original Site:
September 2004
E-mail: usav8or@yahoo.com
more work on the...Radial Fuselage.
March 15 - 16, 2017
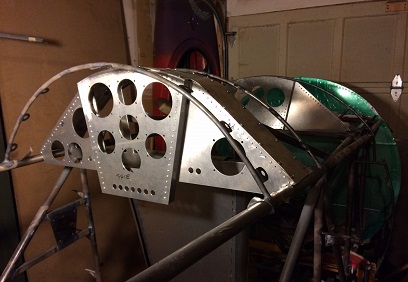
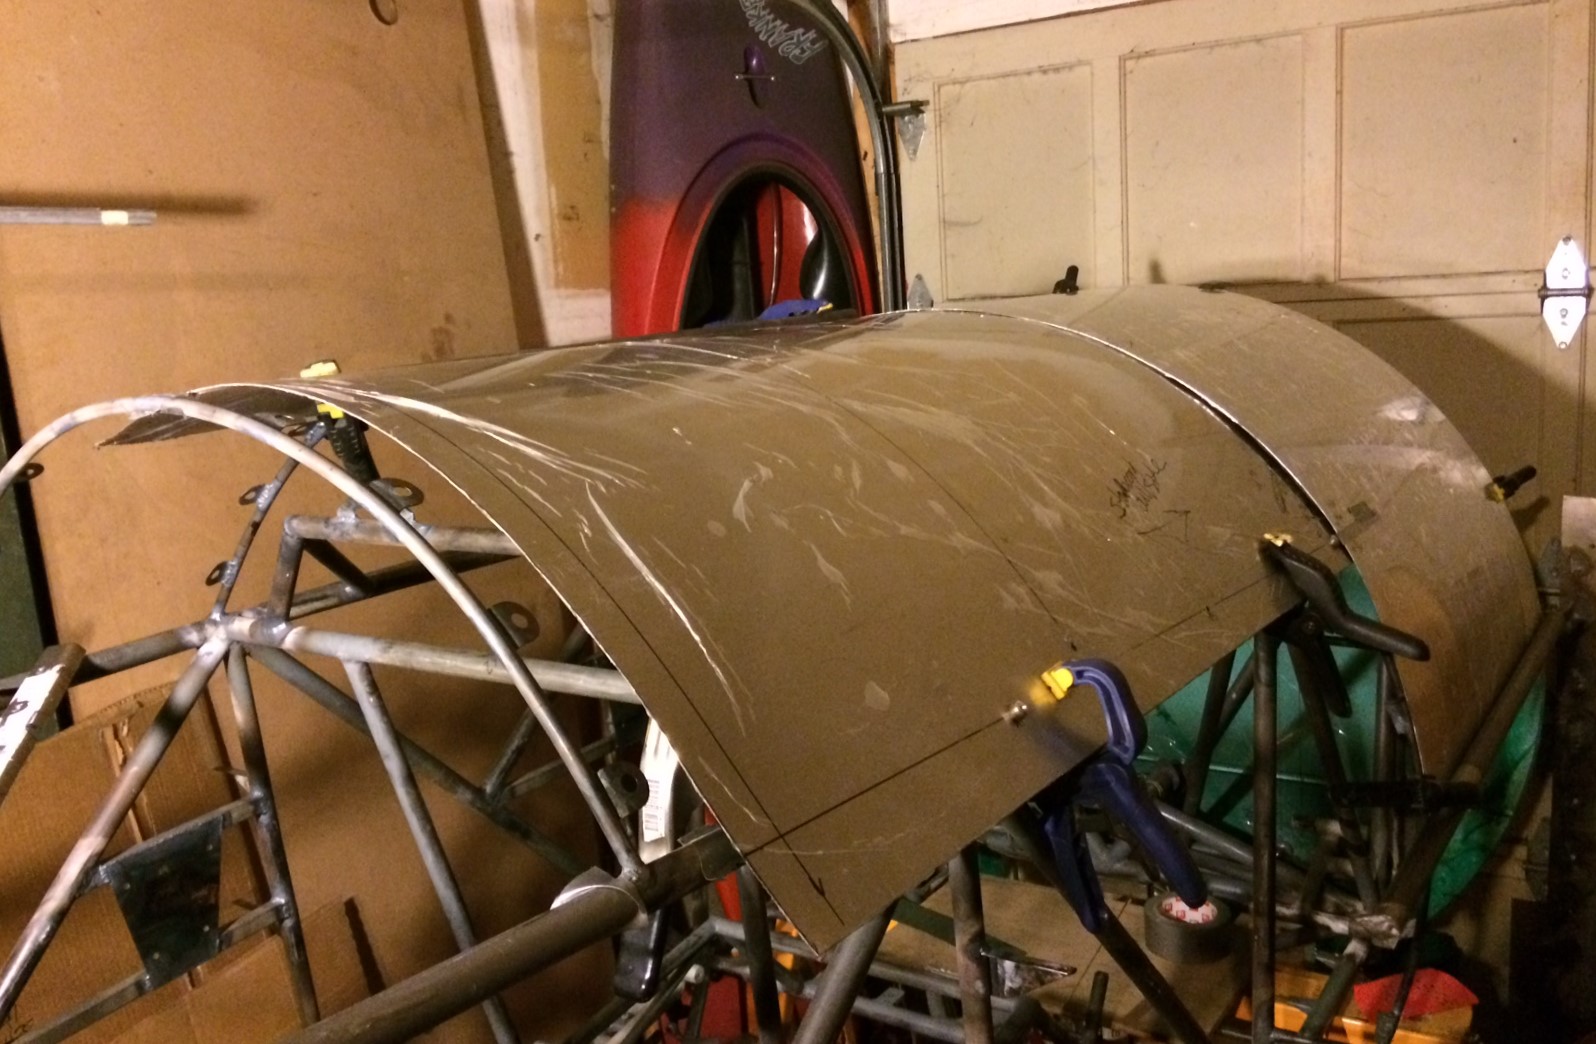
Close to fitting up the aluminum skins...
Let the fitting begin !
(a repeat of my February 15th headline)
Still working at it...
Most of the tabs were tacked in place... and I wanted to finish weld those that were on before aligning and tacking on the two that go out on the modified (extended) former. I didn't want to be playing around with aligning the tabs with the large sheet of .o25 bolted to a tab that was only tacked in place.
Not much to say about it other than... I welded them in place.
Followed that up with bolting on that sheet of .o25 4130 and aligning and tacking... then finish welding the two additional tabs in place.
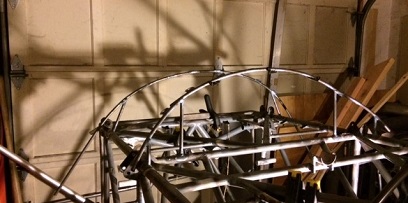
Next day I trimmed the formers back to where I thought they should end (on either side) and welded them closed. Comtemplated starting on the windshields but then remembered I still needed to align and weld on the side formers for the sheet metal skins.
Belly formers - ready.
Top formers - ready.
March 17, 2017
How the hell...
What the hell ???
DAMN ! I knew it wasn't going to be easy... but this ???
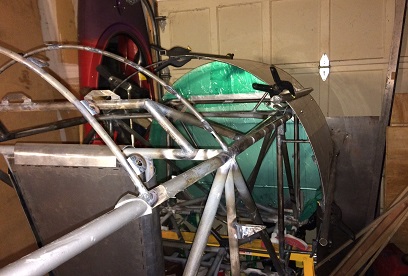
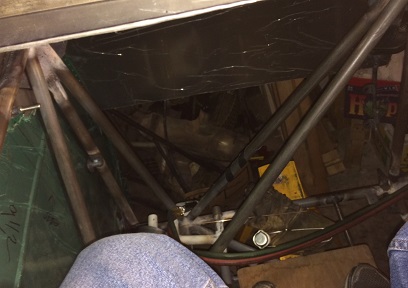
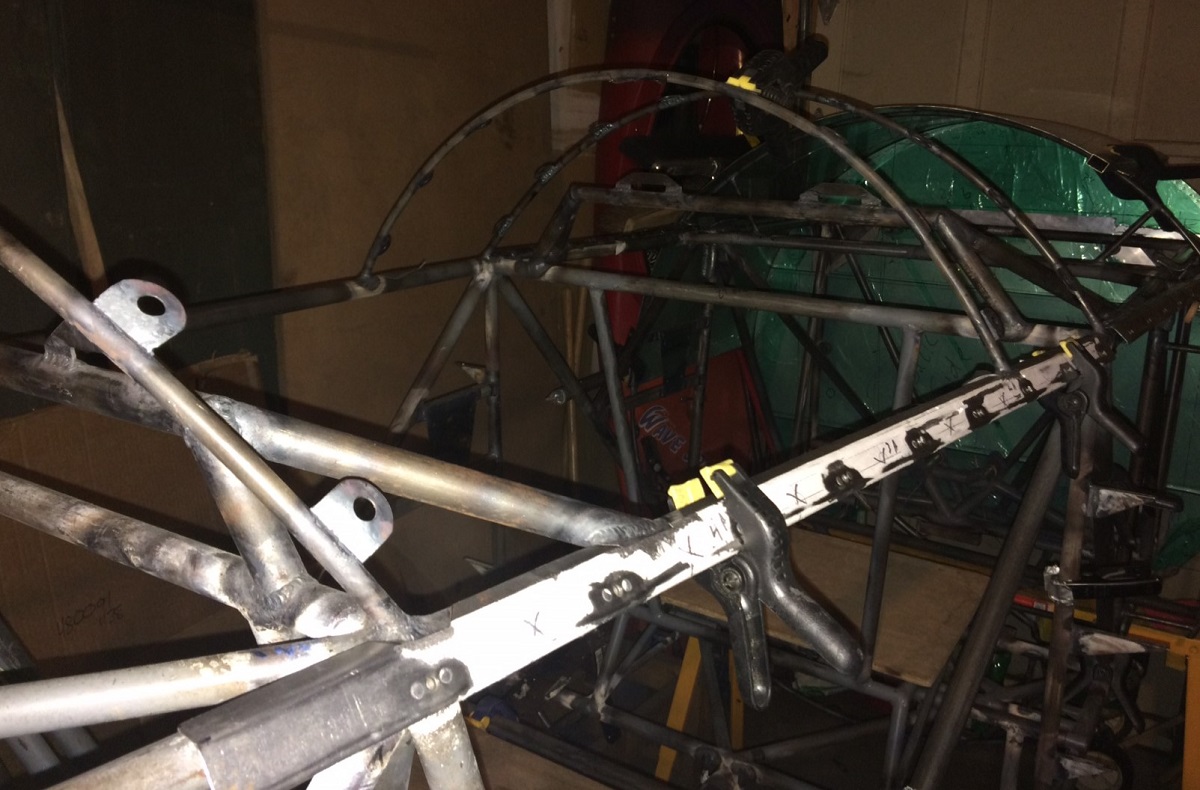
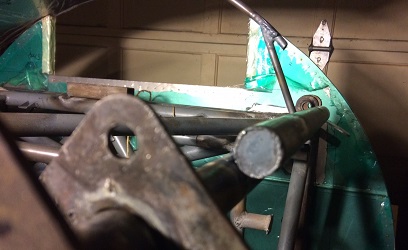
Take a look at this picture. You tell me.
Inside of fuselage. (click on photo for larger image)
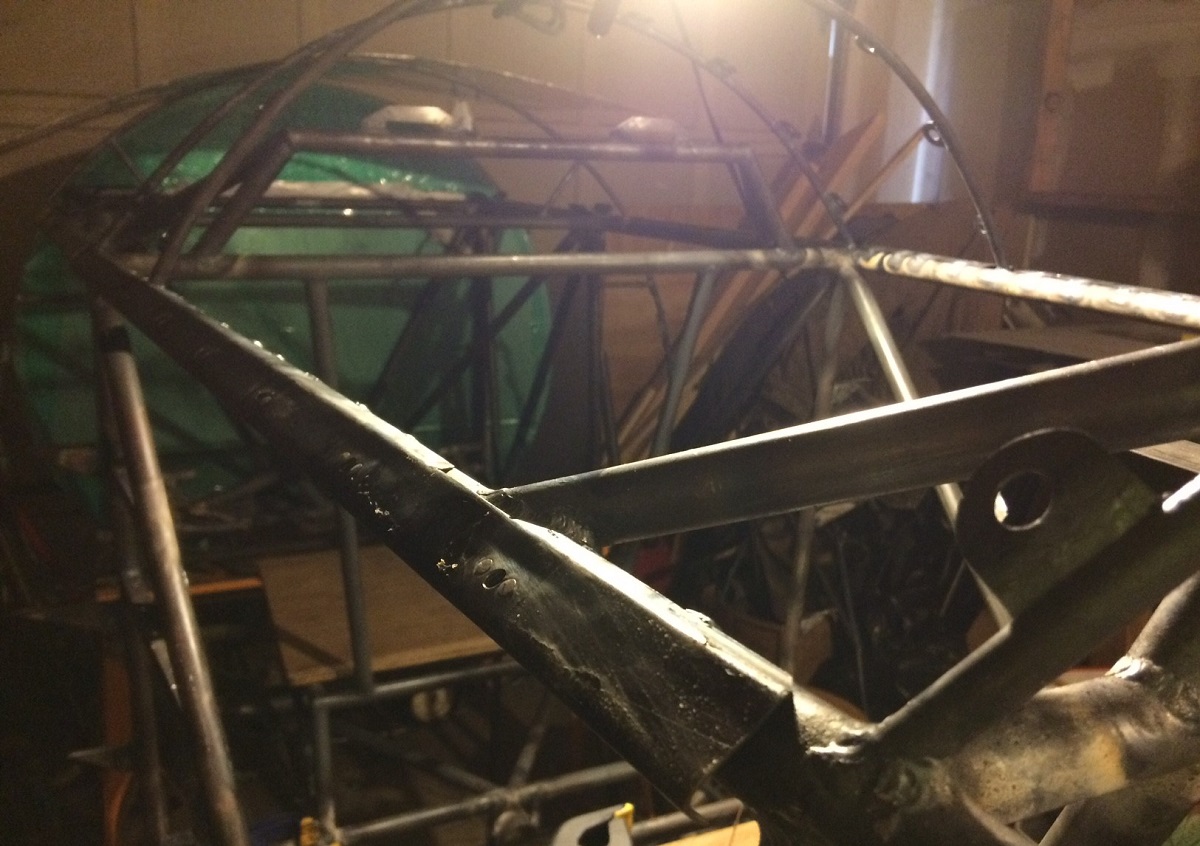
How the hell do I get up inside of there to make one mark so that I can trim the side former so that it lays on the pseudo longeron so that I can finish-tack it into place ? The spot you ask ? See the fitting all the way to the right up against the firewall ? That's the spot I need to reach.
I tried climbing around and in from the port side... didn't work. Climbing up from underneath... didn't work. Would have before I put the belly formers in... but they're locked and loaded now. Sat in the front cockpit and thought of squeezing up through that way but then my head/back/body would have been in a position that I wouldn't be able to see what I was doing and my knees would have been resting on the tubes... all around not a good solution.
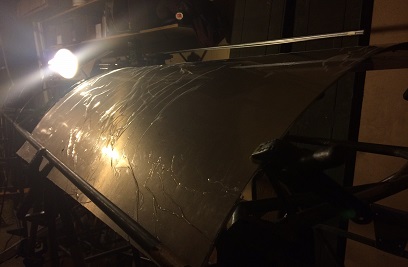
Decided to take a few photos to think it out... I took the above shot and the following shot to figure out what I was going to do...
While laying on the flooring taking this shot it dawned on me that all I needed to do was take a marker and mark the spot from THIS POSITION !
I spent 45minutes scratching my head and doing gymnastic moves... a split-second by-chance shot/answer... and another 20 minutes trimming the piece.
The port side should be much easier.
March 18, 2017
Mama told me...
there'd be days like this.
Spent quite a bit of time on the build today... two sessions.
Started off by giving the edge of the side-former a straighter line. Not sure why... it was pretty straight to begin with. Then... took it up to the fuselage to tack it in place.
Locked it onto the sheet of aluminum I'm using as the "skin" and aligned/positioned it, then clamped it into place. Looked GREAT ! But, I have that nagging problem that I had yesterday... how do I get into that front area so that I can now tack the side-former into place? And I HAD to get in there this time. Decided that the best solution was to get the 6foot step-ladder which would put me higher than the floor of the fuselage allowing me to "easily" step in and out of it. Worked ! Once I got in it, it was another story.
I could have un-clamped the top part to easily slide into the cavity but I didn't want to disturb anything. Another issue I made for myself... not wanting to touch anything. If it was just a cavern that I was crawling into I could bump the sides, whatever... not so with the clamped up shell I was entering.
It didn't take me all that long... just the fact that I needed to be a contortionist to do it... ok, so I'm set... or so I thought, DAMN ! forgot the striker for the torch ! Back-out of the cavity. Grab the striker... wedge myself back into it... look for the welding rod... DAMN ! Back-out of the cavity. Grab a few lengths of weld rod... wedge myself back into it... Grabbed the small sheet of 4130 and covered the aluminum close to where I would be tacking the side-former to keep most of the heat away from it. Made a few tacks and backed my way out of the hole.
Everything looked good... but, I'd be a lot happier if I had a tack on the far back-end of that former. Back in I go (getting use to it by this time) and put another tack in the piece. Detached the side-former from the fake skin and un-clamped all the clamps. Finished it up with seven lengths of tacks to hold it in place.
Locked the port side-former in place and marked it for cutting. Down to the basement workshop and made the initial cut... then took a break.
Second session... grind/filed/sanded port side-former. Then... locked everything into position on the port side and entered that hole only once to put the tacks on the side-former. Dismantled everything and put the finished tack-welds on it... called it a day.
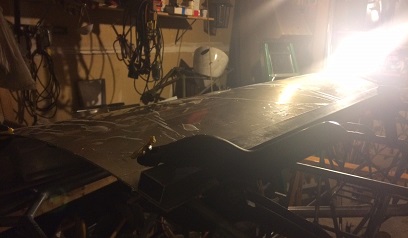
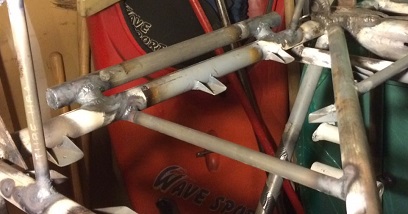
THAT's the spot I need to get to !
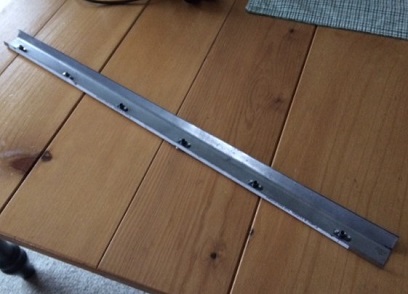
Port side-former. (click on photo from larger image)
March 19 - 24, 2017
Pushing past...
a slight hesitation.
oh no... I haven't stopped. Not even a hiatus. although... I may be dragging my feet a little. Just wanna make sure I get things right.
I've been working at getting the sheet metal skins in place for quite some time now. A lot of repeat processes. and... I'm not just thrilled about writing about repeat processes. I'd think they'd bore the reader too.
ok... So, I have the first set of side-formers tacked/welded into place. Next plan of action is to get the second ones in place.
Needed to get the correct length of the two side formers; fitted up the first by bolting it onto the pseudo aluminum skin that I had used for the first station's fitting. The same process of clamping it to the fuselage... but this time it wasn't as hard to get at for the markings. Marked and cut/filed/sanded to size. Decided at that point that I actually needed to have the front skin in place to make an accurate alignment of the second skin. But, before doing that I fitted up the port-side second-former. All that blah blah blah same stuff that I did with the first one.
Took some time to cut a piece of aluminum that was 26inches x 48inches. This would wrap the entire top of the first section, giving me a good idea of how the second one needed to fit up to it.
It worked... and it didn't work. Actually needed it to wrap all the way around to the side-formers in the first section, and the clamping at the top of the skin was in the way of my putting in place the seond fitting... Make sense ? With a little adjustment I was able to make it all work. The final adjustment was to make sure that the froward anchor nut plate on the second side former was 4inches from the last on the first former. Not spot on but DAMN close. Made sure it was the same distance on the port side (checked it and IT was spot on but allowed for the miscalculation of the first).
Clamped the starboard side in position again and let it do its "cooling off period"... time I let it sit to make sure that I'm happy with what I did.
March 25 - 29, 2017
An unexpected...
turn (or maybe that should be angle).
More progress on the side-formers that are being used for attaching the sheet metal skin.
The first two "sections" twern't that hard to do. The past several days... it was just a matter of taking and putting in time on the first four.
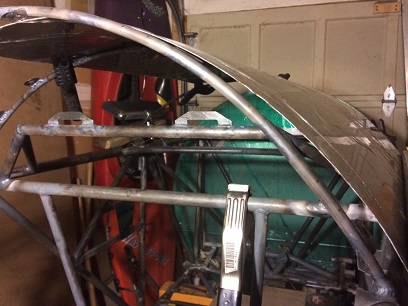
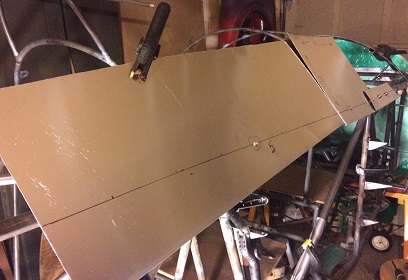
Last night I cut the piece of aluminum "skin" that I'll use to align the third and last section of skins... not a problem... until I clamped, or tried to clamp, it into position.
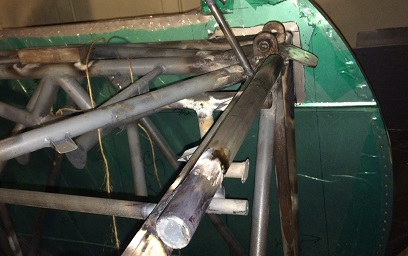
Look at the photo below. The far right side, the two upper formers stradling the clamp... they're pretty much parallel. Come on over to the left side of the image... down next to the clamp. There's an angle from those first two upper formers to the rear former where the turtledeck starts. Not as simple to align and tack as I thought it was going to be. Not that it's going to be difficult... it's just going to take more time.
I'll show it in more detail when I get the additional alignment skin cut...
March 30, 2017
A few hours...
prep for things to come.
Quite a bit of fitting up of the sheet metal alignment skins.
As explained above, there's a lot of different angles happening in the back area. The only way to address them is to separate each area with its own alignment sheet. Not pretty looking (still working on it), but it will get the job done... and get it done right. I still need to trim some of the panels that that I can clamp them correctly and without disturbing the other sheets.
NOTE: The small aluminum piece (far right in photo) is to align the second set of holes with the third set. The next sheet of aluminum is over the area that has the formers that are parallel. The next long sheet of aluminum is set to match the end of the curve on the rest of that area. Make sense ?
Still needs trimming and to be clamped before welding.
March 31 - April 1, 2017
Change of plans...
keeping it simple...
Change of plans. All that sheet metal stuff in the above photo... just not liking it.
Decided that I'll align the first hole on the third side-rail (calling the side former a side-rail now - side former was a bad word choice) to the last two holes on the second side-rail. This will also give me the angle. There is a slight bend on one of the third side-rails so I'll clamp a piece of square tubing to straighten it out while I tack it onto the upper longeron. oh... decided to cut off the last anchor nut plate from each of the side-rails otherwise it would create havoc with the turtledeck.
Now it was just a matter of putting all my planning into action...
Jigging it.
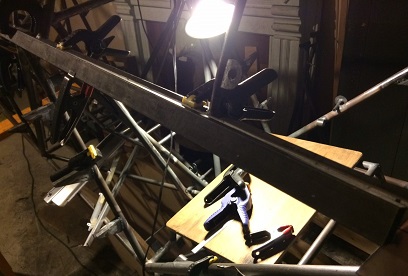
Last of the upper side-rails. Click on photo for larger image.
April 2 - 3, 2017
Stay on track...
Wanting to start on the windshield... I wasted time mocking up the upper fuselage only to decide that it was a wasted effort; I need to really wait until I have the upper sheet metal skins in place before crafting the windshield.
Change of plans, which was actually staying with what I was now doing... Since I was working on the side-rails I decided to finish them up... still needed to align the two bottom rails in the first bay. FIRST I needed to figure out the pseudo longerons for that section. Flipped the fuselage and took a few measurements; distance off of longerons of skin, and the length of the side-rail.
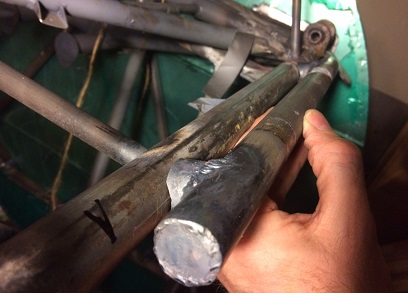
Cut, filed and sand the rails to length. Found the .o35 x .875 tubing I bought for the project and cut both lengths 14inches. Took a sheet of .o32 4130 and cut/drilled all four caps for the pieces.
Monday I cut the stand-offs and lathed them down square and to size; 1/2inch and 5/8inch. Still need to notch... then weld onto fuselage.
April 4, 2017
Staying on track...
More work on the pseudo longerons... welded on the caps then filed the edges smooth. NOTE: not structural... otherwise you shouldn't file a weld. Ready for welding on fuselage.
April 6, 2017
Still staying on track...
Getting the false longeron ready for attaching... Welded on the stand-offs to the set of false longerons. They are ready for attaching.
Test fit. Ready for welding on.
April 7, 2017
Wished it were on a spit...
Re-checked the stand-off lengths to make sure that they were doable wit the length of leg on the remaining two side-rails. And... they were okay to go.
Jigged each in place. Tacked then finished welded them. Not much to say about it other than I wished it were on a spinning rig so that I could get at a few of the welds at a better angled.
Ya know what... thinking about this a little bit more, I did something of note; I angled the false belly longerons to 1. get it out of the way of the bolts that would need to be inserted into the wing spars, and 2. put the screws heads facing the ground to give the forward sheet metal skin a more seamless look. I knew there was something...
Port false longeron tacked in place.
Starboard false longeron welded in place.
Port false longeron welded in place.
April 7, 2017
NEEDS to be on a spit...
Needed to flip the fuselage to weld on the belly side-rails, or so I thought.
With a lot of effort I got it flipped... only to find out that it needs to be on the other side (the side it was on)... can't put the belly skin in place with that part sitting on the saw-horse. Although, when flipping it I bent the port, forward side-rail on the upper side. DAMN ! Took a closer look at the other rails for shits and giggles and saw that three of them had slight bends in them. DAMN ! With all that attention to detail and they have a bow in them ???
My first thought were to tear them off right then and there... actually tried pulling one off. THEY'RE WELDED ON, JER ! Figured the best thing to do was let my "thoughts" sit and stew overnight. Glad I did.
Before stopping for the day I needed to come up with a rig that would allow me to sping the fuselage with the firewall on. A little be tougher to do... but doable. Trying to make it out of wood before resorting to tube/metal.
While watching the Phils kick the Nats asses (17 - 3; was 12 - 0 after the first inning ! - GO PHILS !) I thought of the idea of grinding off the center welds off all the offending side-rails. Clamping a straight-edge to the rail to pull the center out straight and re-welding ??? Might just work !
April 8 - 14, 2017
Traveling back...
in time.
Clamping the tube to the side-rail worked ! Just didn't work good ENOUGH. The tube had a slight bend in it... DAMN ! Seriously ???
Decided to cut the center welds on all of the offending (bowed) side-rails... which was basically ALL of them. Seriously ???
Took close to ten hours to carefully grind the welds off... then grind them down... then sand them with 100 then 220 grit sandpaper. Also laid the bowed tube on its other side and it was straight. Think I just may use that for the "jig".
That's it ! That's all I did this past week. Close to the point I was a week ago.